How To Reformat Your USB Flash Drive
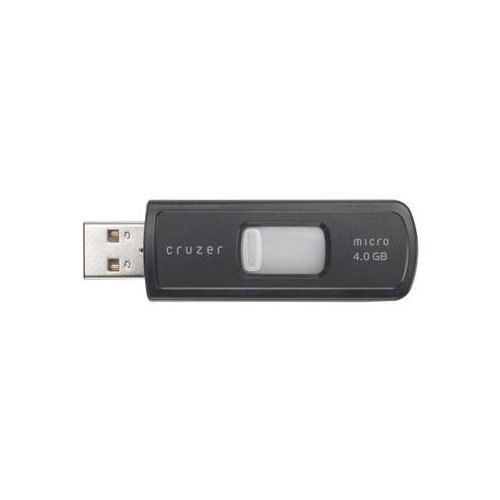
I recently found the need to dig out and dust off my old USB flash drive in order to be able to transfer files between computers. Upon plugging in my flash drive, I found that there were about 300 megabytes available. That is, 300 MB of available space on my completely empty 4 GB flash drive. What the heck? How is that possible?
It turns out that there is a hidden trash folder that Mac OS X creates on the flash drive. When files are deleted on the flash drive through Finder, the files are actually moved to a hidden “.Trashes” folder on the flash drive. If you don’t empty the trash before removing your flash drive, these files will remain in this hidden folder and will take up precious storage space. Disgusting.
This problem can usually be remedied by plugging in the flash drive to a computer and emptying the Trash. If you find yourself having this trouble often, or if you work with many external storage units like flash drives and SD cards, you may want to check out a $10 application (with 30-day free trial) called BlueHarvest. It automatically removes these hidden folders and files from your flash drives, SD cards, file servers, and more. I haven’t tried it out myself, but it has good reviews and it looks like a viable solution.
While reformatting my flash drive probably wasn’t necessary, I had a bunch of odd system files on it and I thought it would be a good idea to just delete everything and start with a brand new file system.
If you want to completely wipe your flash drive and start fresh, then you will want to reformat it. Some other reasons for doing this are
- If you are going to sell your flash drive, then you will want to get rid of all the data on it
- If you need to change the format of your flash drive for reasons like file size limit or usability on certain operating systems
- The file system on your flash drive is a hopeless mess and you want to quickly and easily clean it up
- You are having storage issues with your flash drive
- You are having file corruption issues on your flash drive
- To check for damaged sectors of your flash drive
Reformatting A USB Flash Drive On A Mac
- Plug in the flash drive to your computer
- Open Disk Utility (Applications -> Utilities -> Disk Utility, or search for “Disk Utility” in Spotlight)
- In the list of drives that are connected to your computer, select your flash drive. This should be the one that is labeled with a description of the drive rather than the name of your drive. Mine is “4.02 GB SanDisk Cruzer Media”. There should be a mounted volume that looks like a sub-drive of your flash drive.
- Go to the “Erase” tab
- Select the desired format (you probably want “Mac OS Extended (Journaled)”)
- Give a name for your flash drive
- Click the “Erase…” button
- Follow any on-screen instructions
- Give yourself a pat on the back- you’re done!
Reformatting A USB Flash Drive On Windows
- Plug in the flash drive to your computer
- Go to My Computer
- Right-click your flash drive and select “Format…”
- Select which format (“File System”) you want your flash drive to be reformatted to. You can do some research on this if you want, but you probably want to go with FAT32.
- Choose an allocation unit size. You probably want to leave this to the default, but if you have a large flash drive or you intend to store large files on it then you might want to increase the allocation size. Otherwise, a smaller allocation unit size might suit you better; try 512 bytes.
- Give your flash drive a name by typing it in the “Volume Label” box
- Click “Start”
- Click “OK” in the window that pops up
- Give yourself a pat on the back- you’re done!


Leave a Comment